

Reinventing the Suncatcher Part 1
"The way to succeed is to double your failure rate." ~ Thomas J. Watson
After all my years working with stained glass, there was one portion of the process that I’ve never enjoyed: soldering. Sure, I had gotten better at it over the years with cleaner lines, transition points, seems, and hanger mount joints, not to mention less splattering in unfixable places, but I didn’t get any faster. I’ve tried using different size soldering tips in hopes to speed up the process and to make the lines neater in tighter corners. From cutting to grinding to foiling, and with the use of my templates and original stained glass patterns, I’ve found ways to save time but saving time with soldering seemed to be elusive.
My “love affair” with soldering also boils down to the fumes, the chemicals, and the dryness I’d get in my throat during the process. I’ve tried using different flux. I’ve also tried using lead-free solder but that was even more difficult to work with. Lastly, I’ve tried to add more ventilation. I used to solder with just a window open, then I added a fan to my right, a fume extractor to my left, and an open window to the left of the fume extractor. While, I didn’t breathe in as much in the way of fumes, my throat would still get that dry sensation. After a while, I was sick of it. I kept thinking about ways in which glass could be encased differently to still create a beautiful sun catcher or panel like always but without the lead, the mined metals, the harsh chemicals, and the soldering. After all, the solder and copper foil tape consists of a pretty pricey portion within the anatomy of a stained glass piece. It was one sticking point that made my foray into working with the medium as a side hustle a not-so-profitable endeavor. I had quit my mechanical engineering job when I moved to Pennsylvania from the Chicago area in hopes of setting up a new life in entrepreneurship. With the pandemic of 2020, it did not go so well, so I found myself returning to the workforce in 2022 dreaming of new ways to get back out of the workforce at a later date.
3D printing entered the picture in 2021. I’ve had some experience with 3D printing in the office as a mechanical designer. I’ve used it to prototype small parts and I’ve gotten accustomed to how to design for it. 3D printers were becoming more affordable while yielding higher quality prints than the older generations of printers. This was a far cry from the expensive, rudimentary outputs of the printers I was used to working with. After some experimentation with other product ideas, I’ve developed a new set of skills testing the boundaries of 3D printing capabilities. My product ideas thus far had yielded some sales, but no breakthroughs. Now, this was the last pivot idea before returning to the workforce in 2022: 3D-printed encased stained glass.
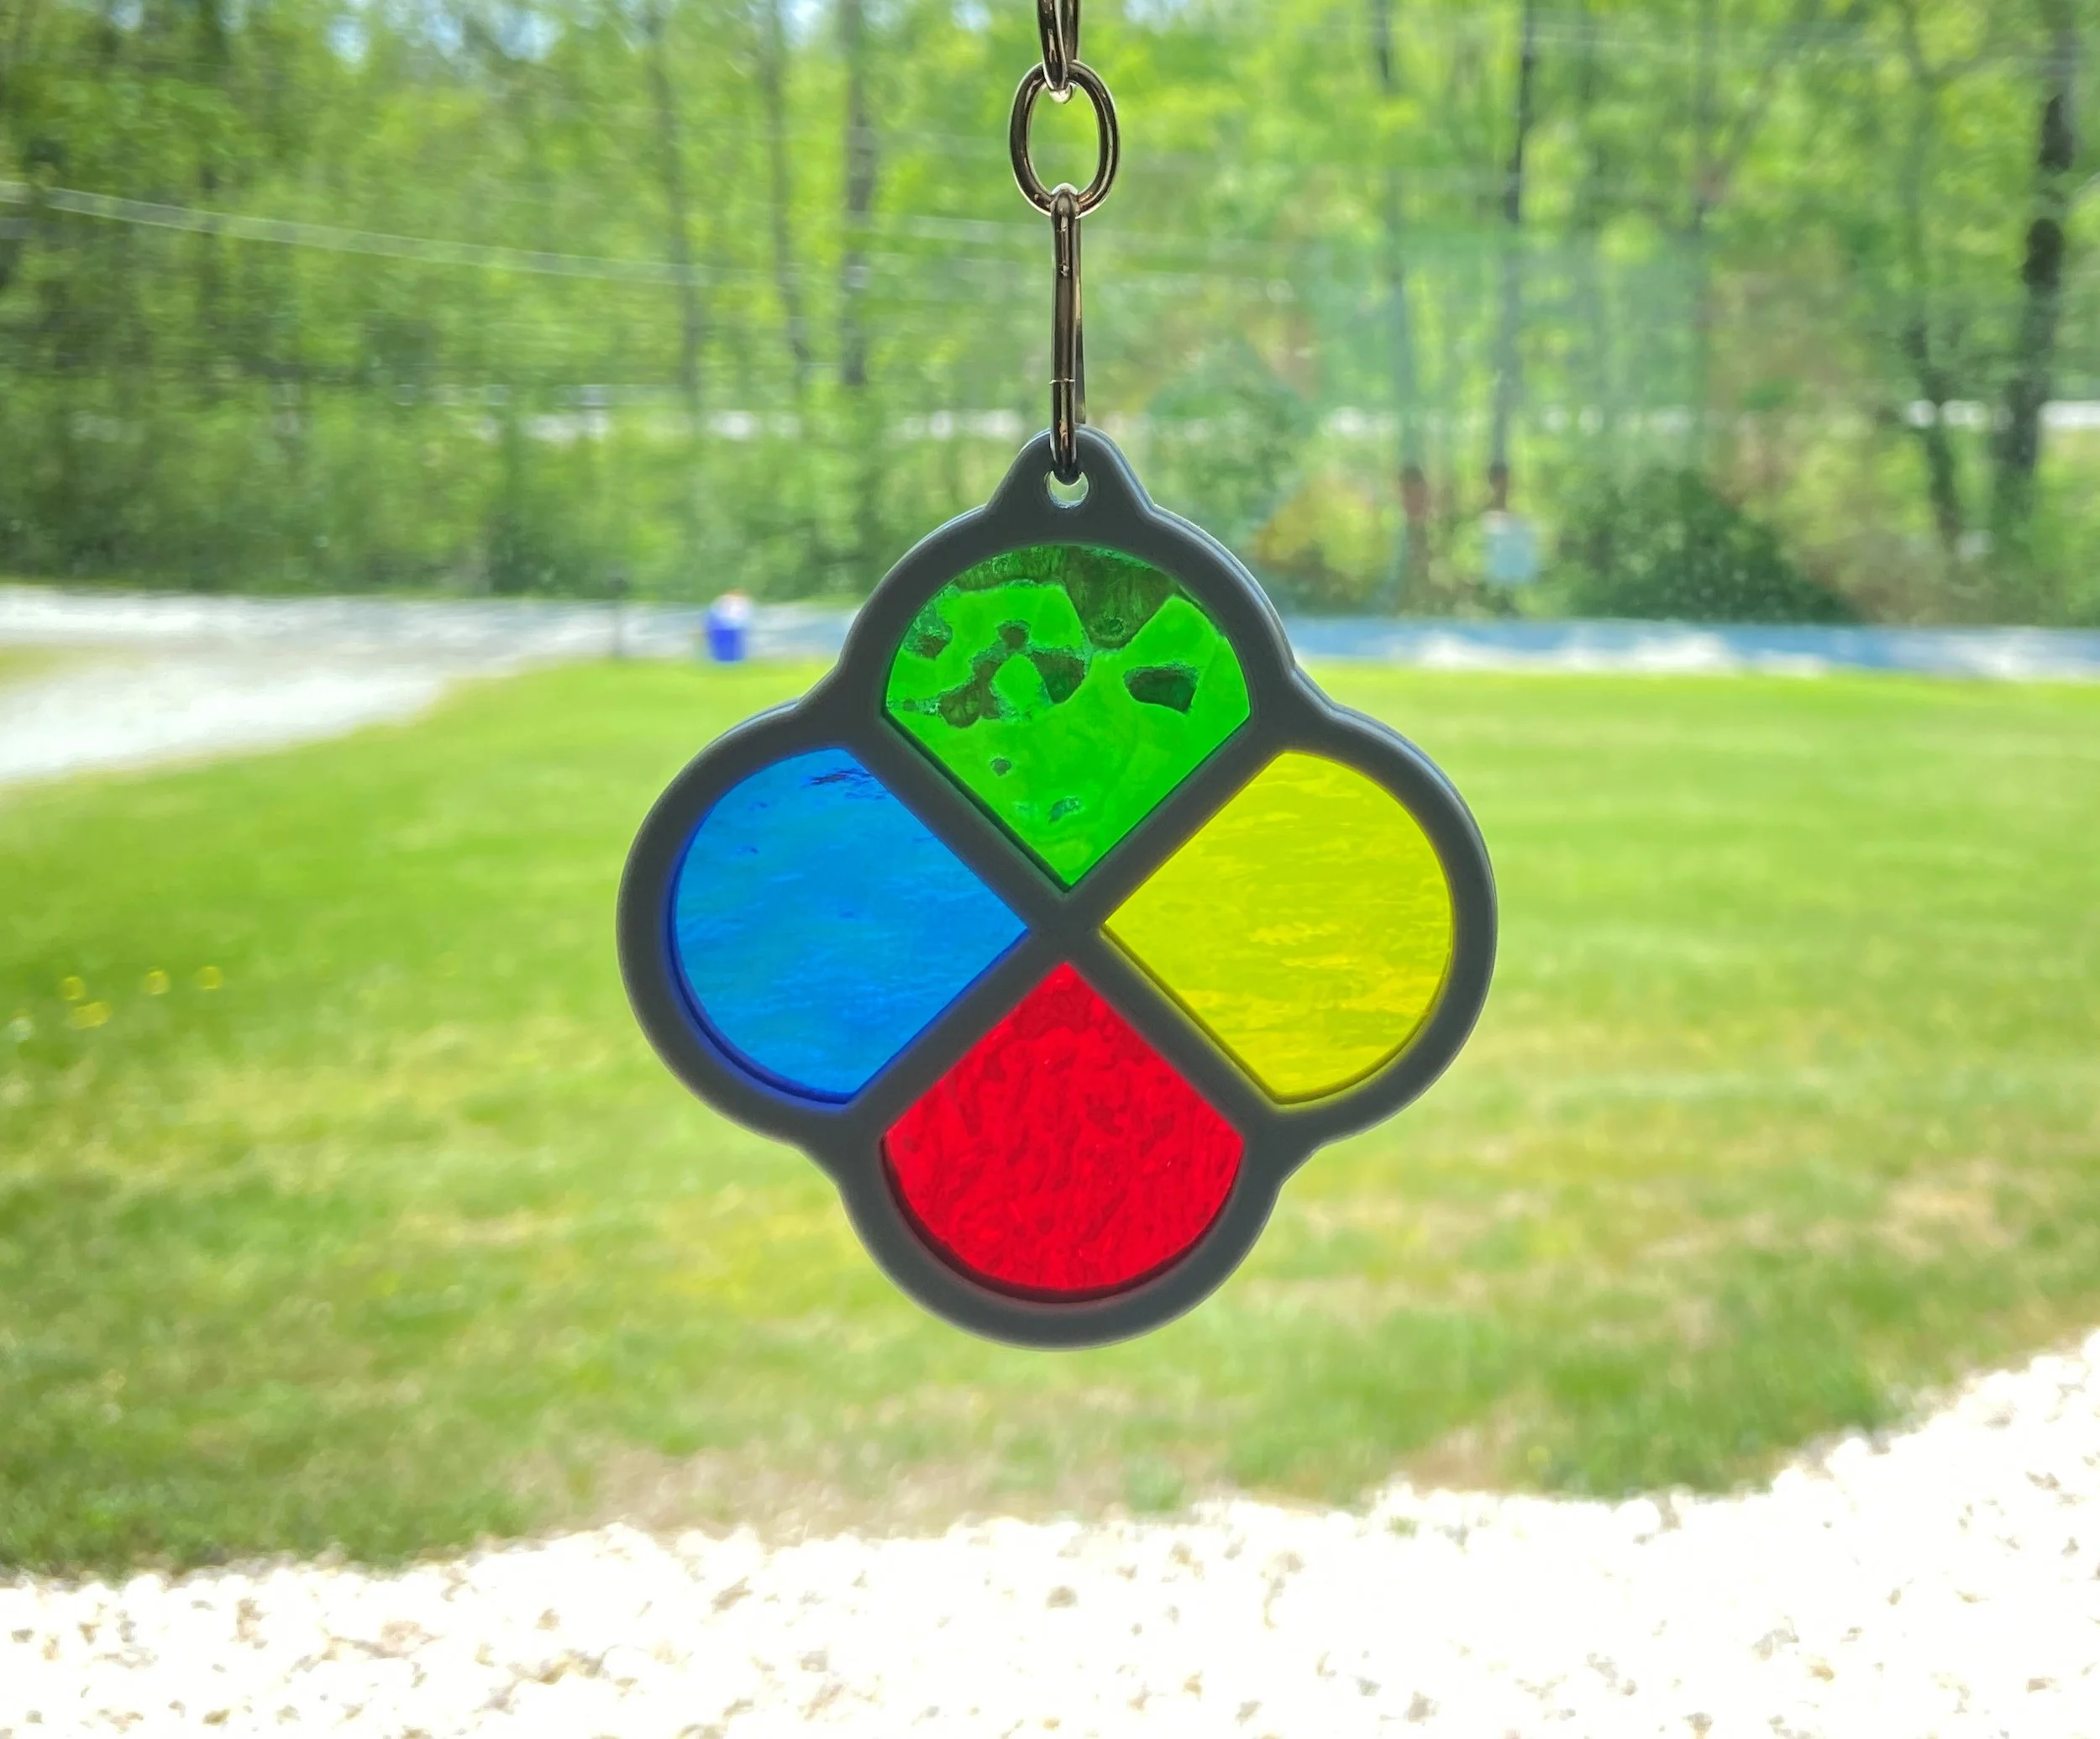
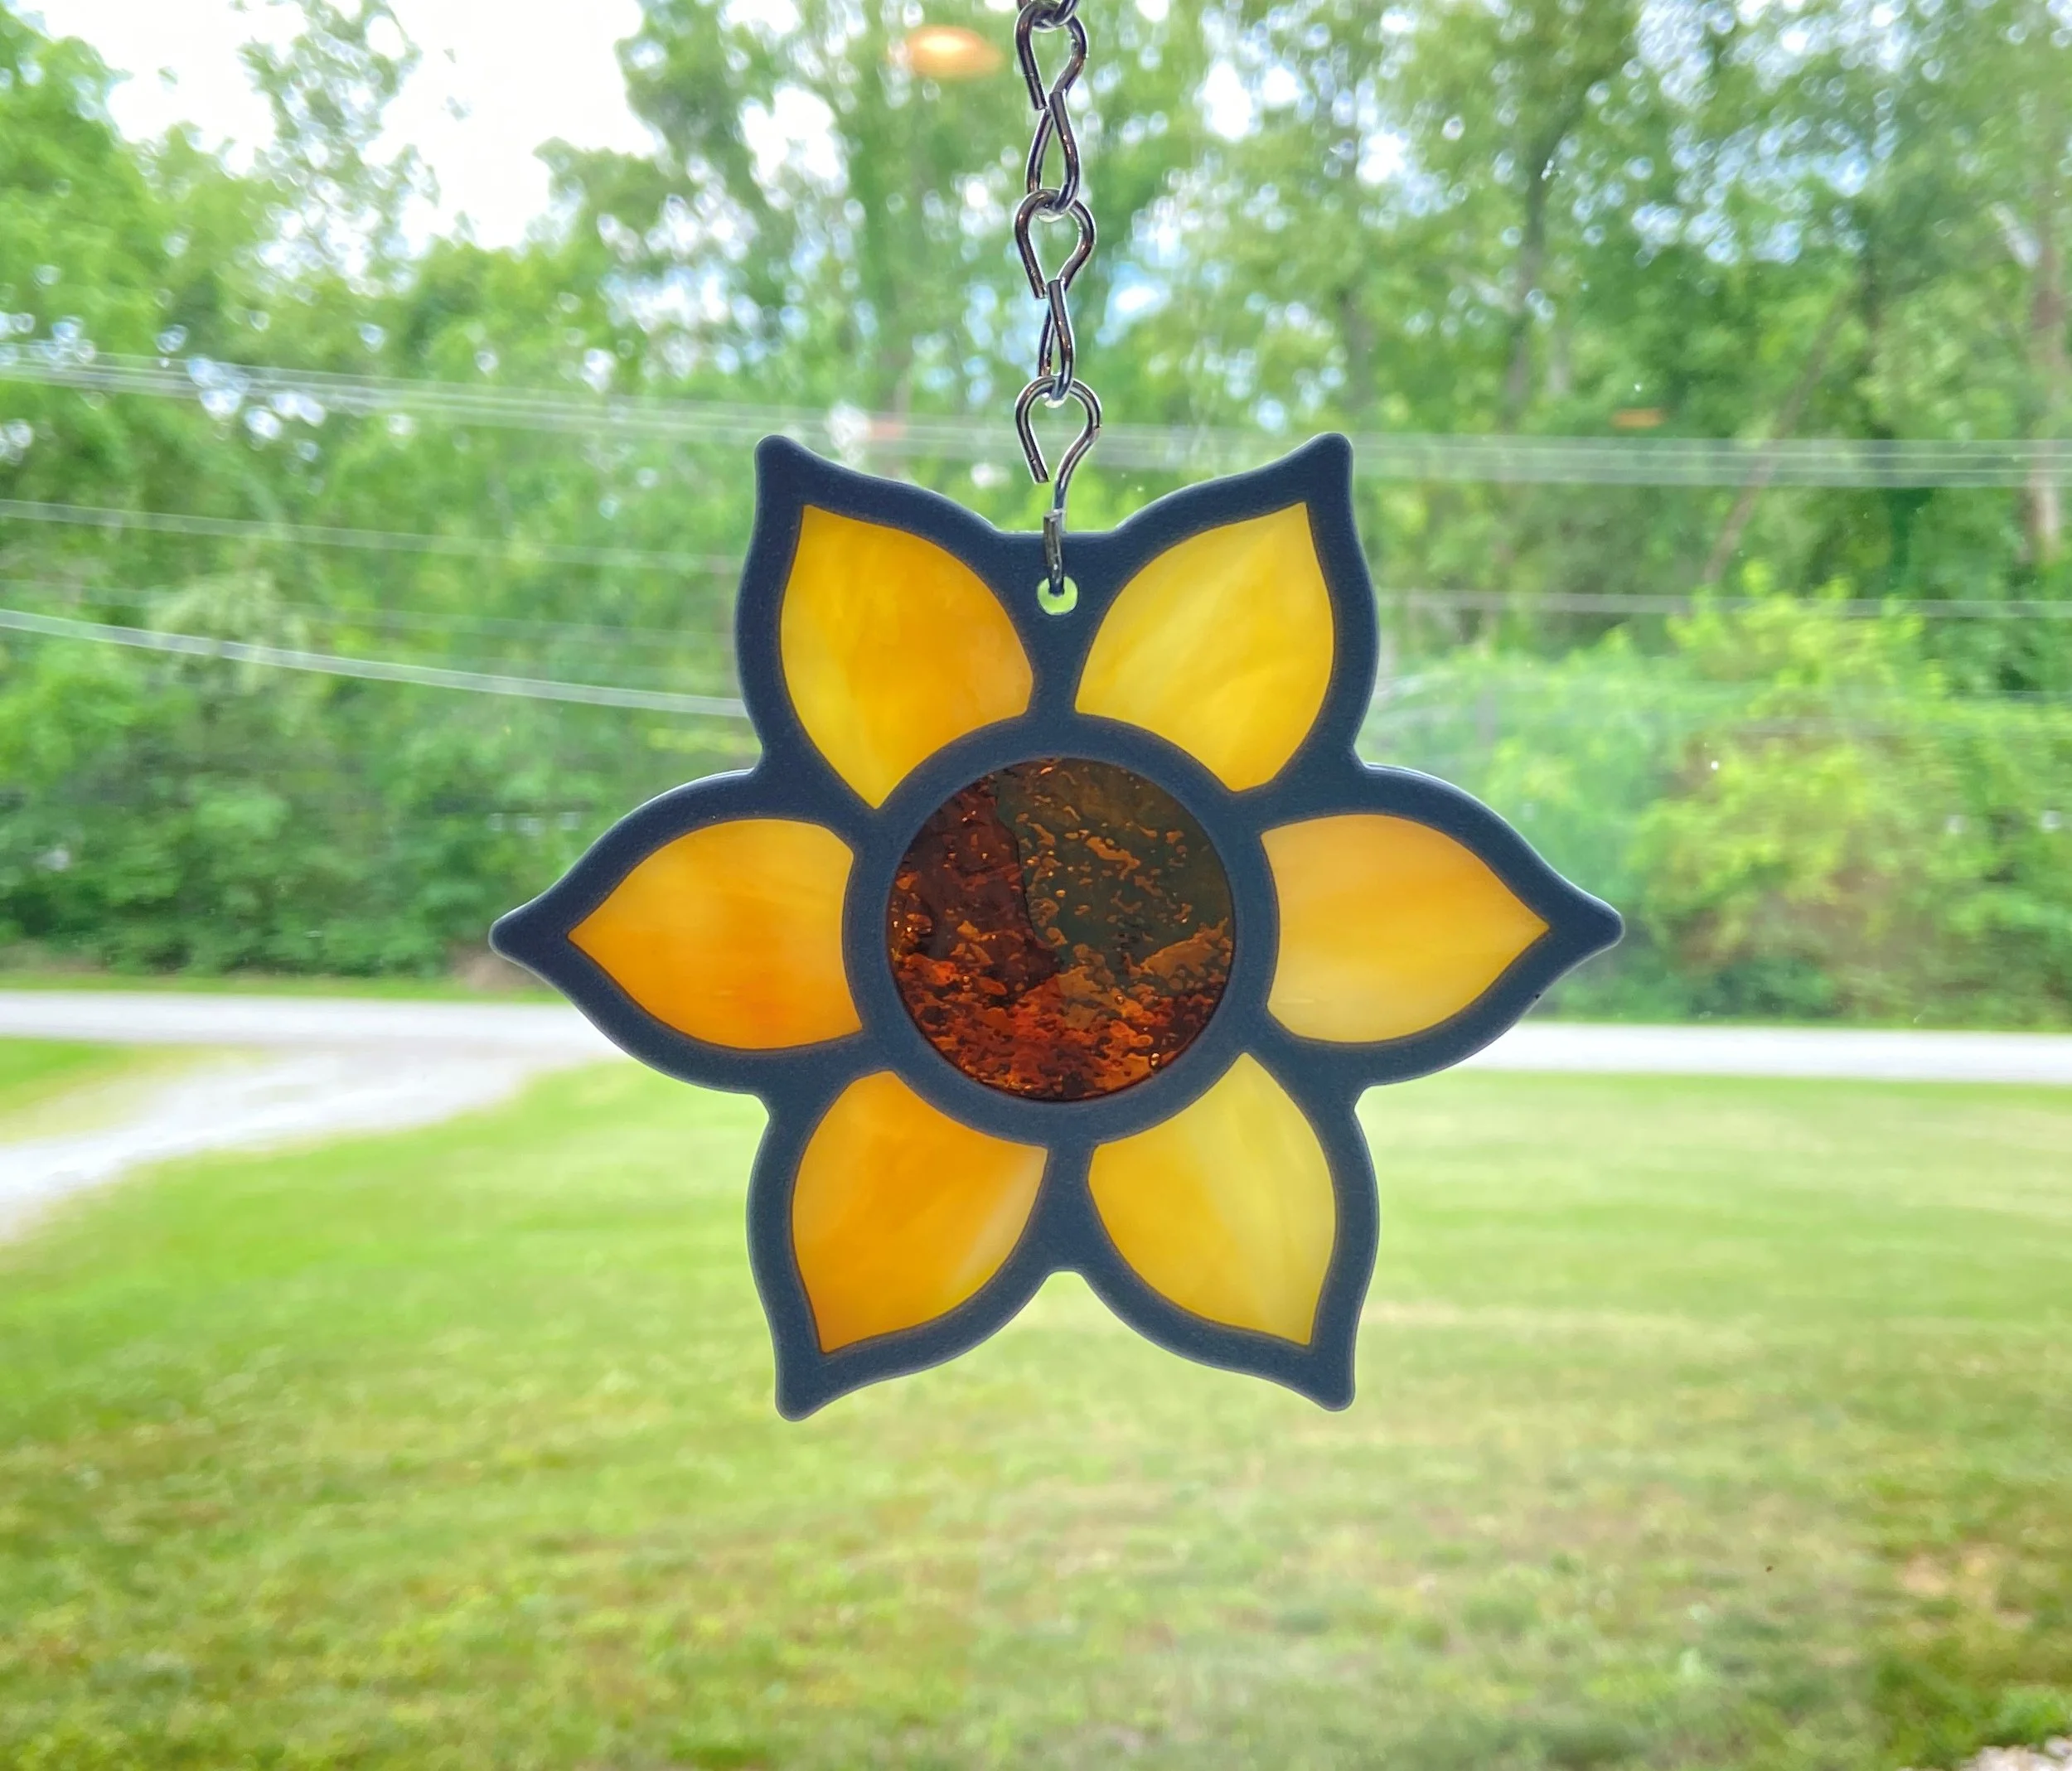
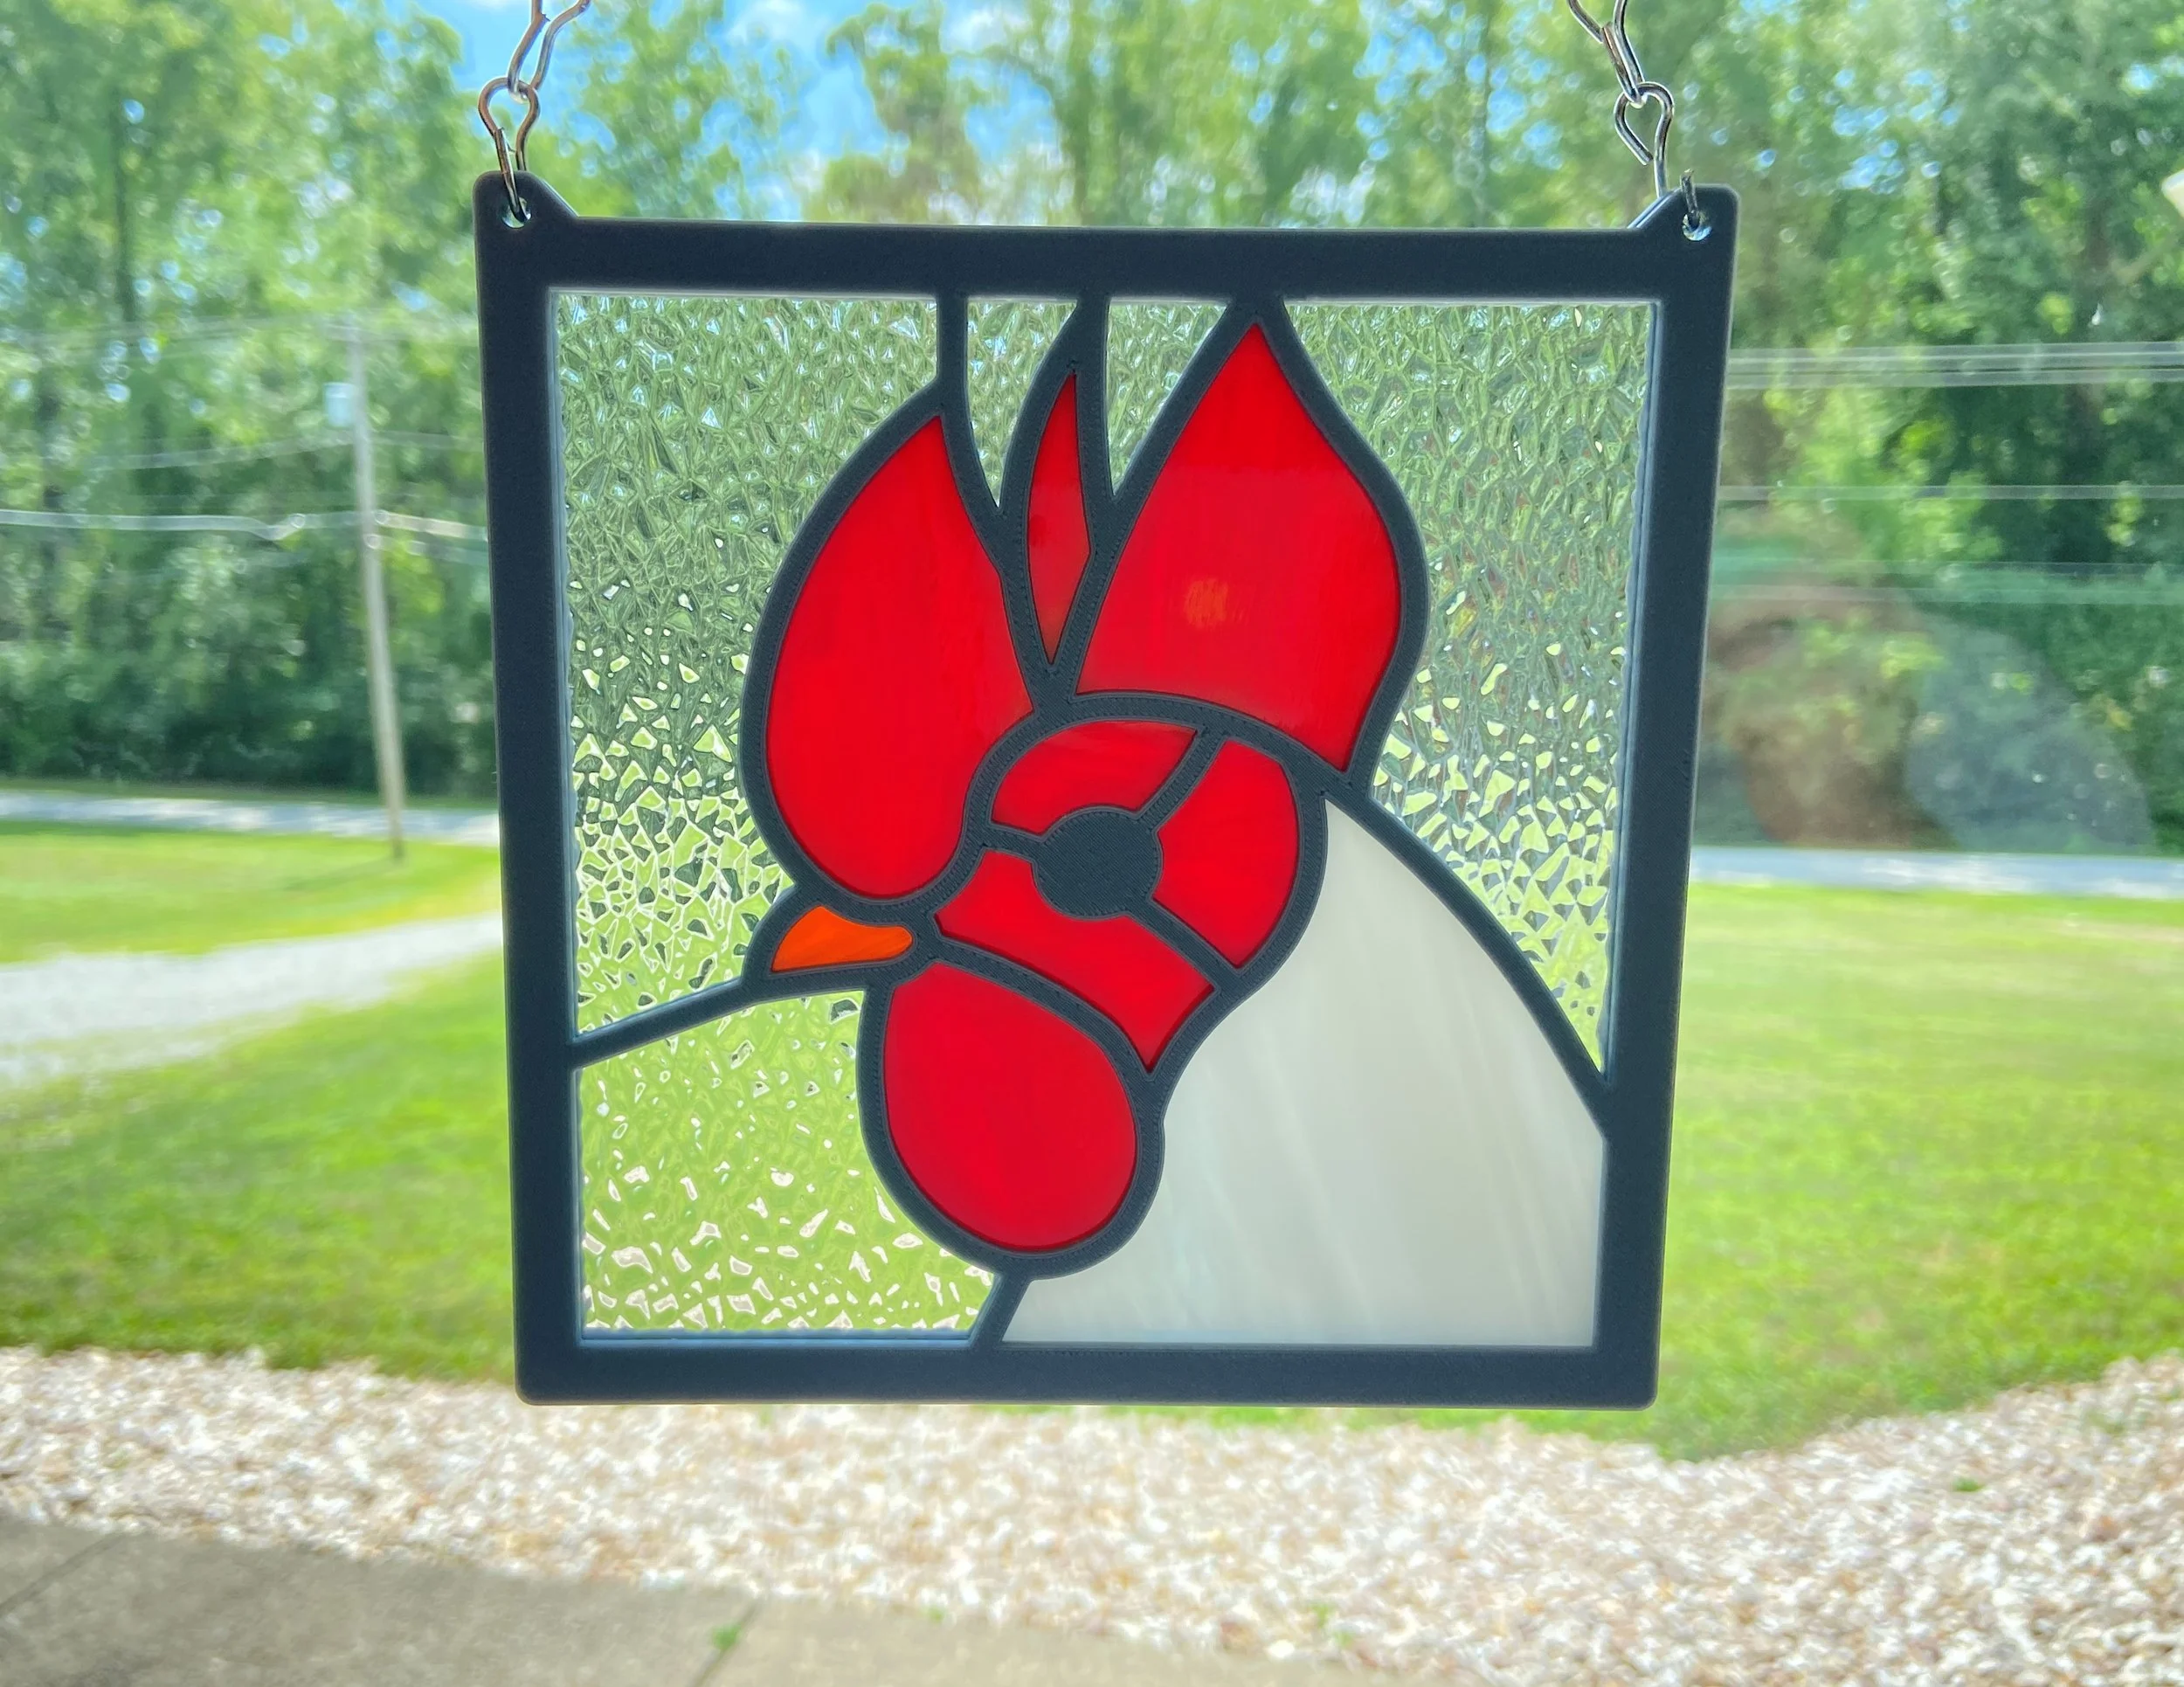
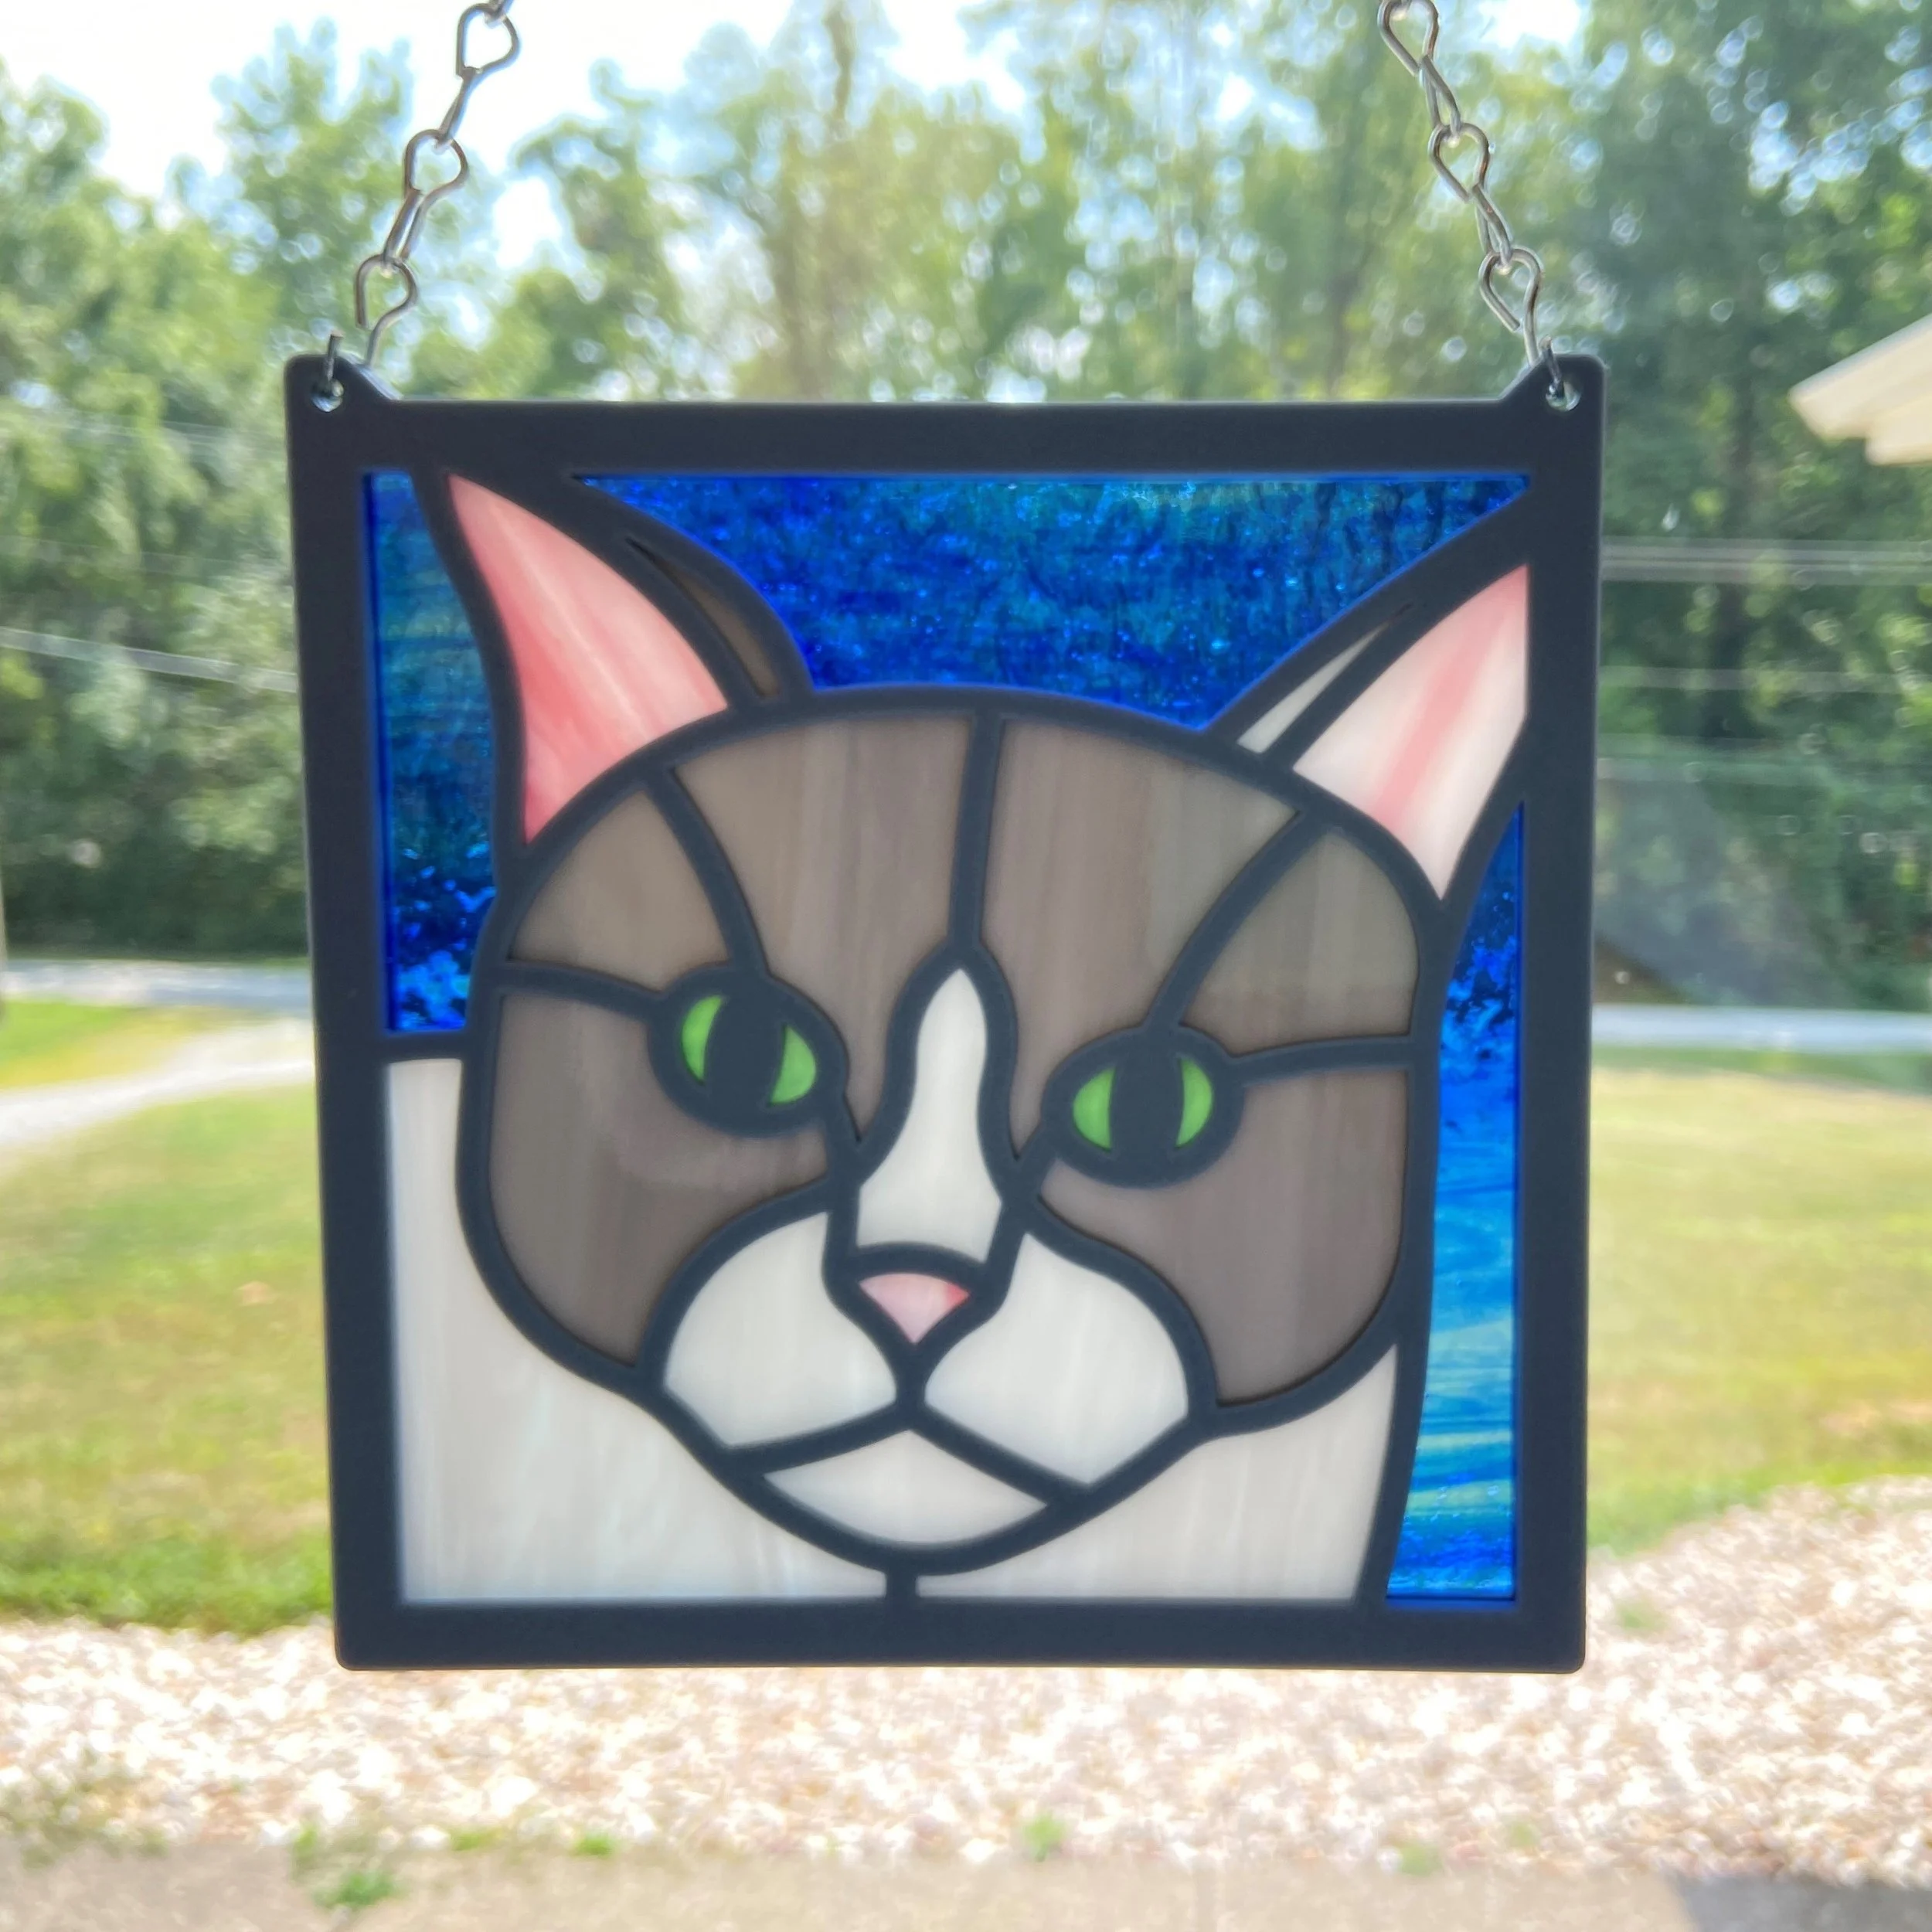
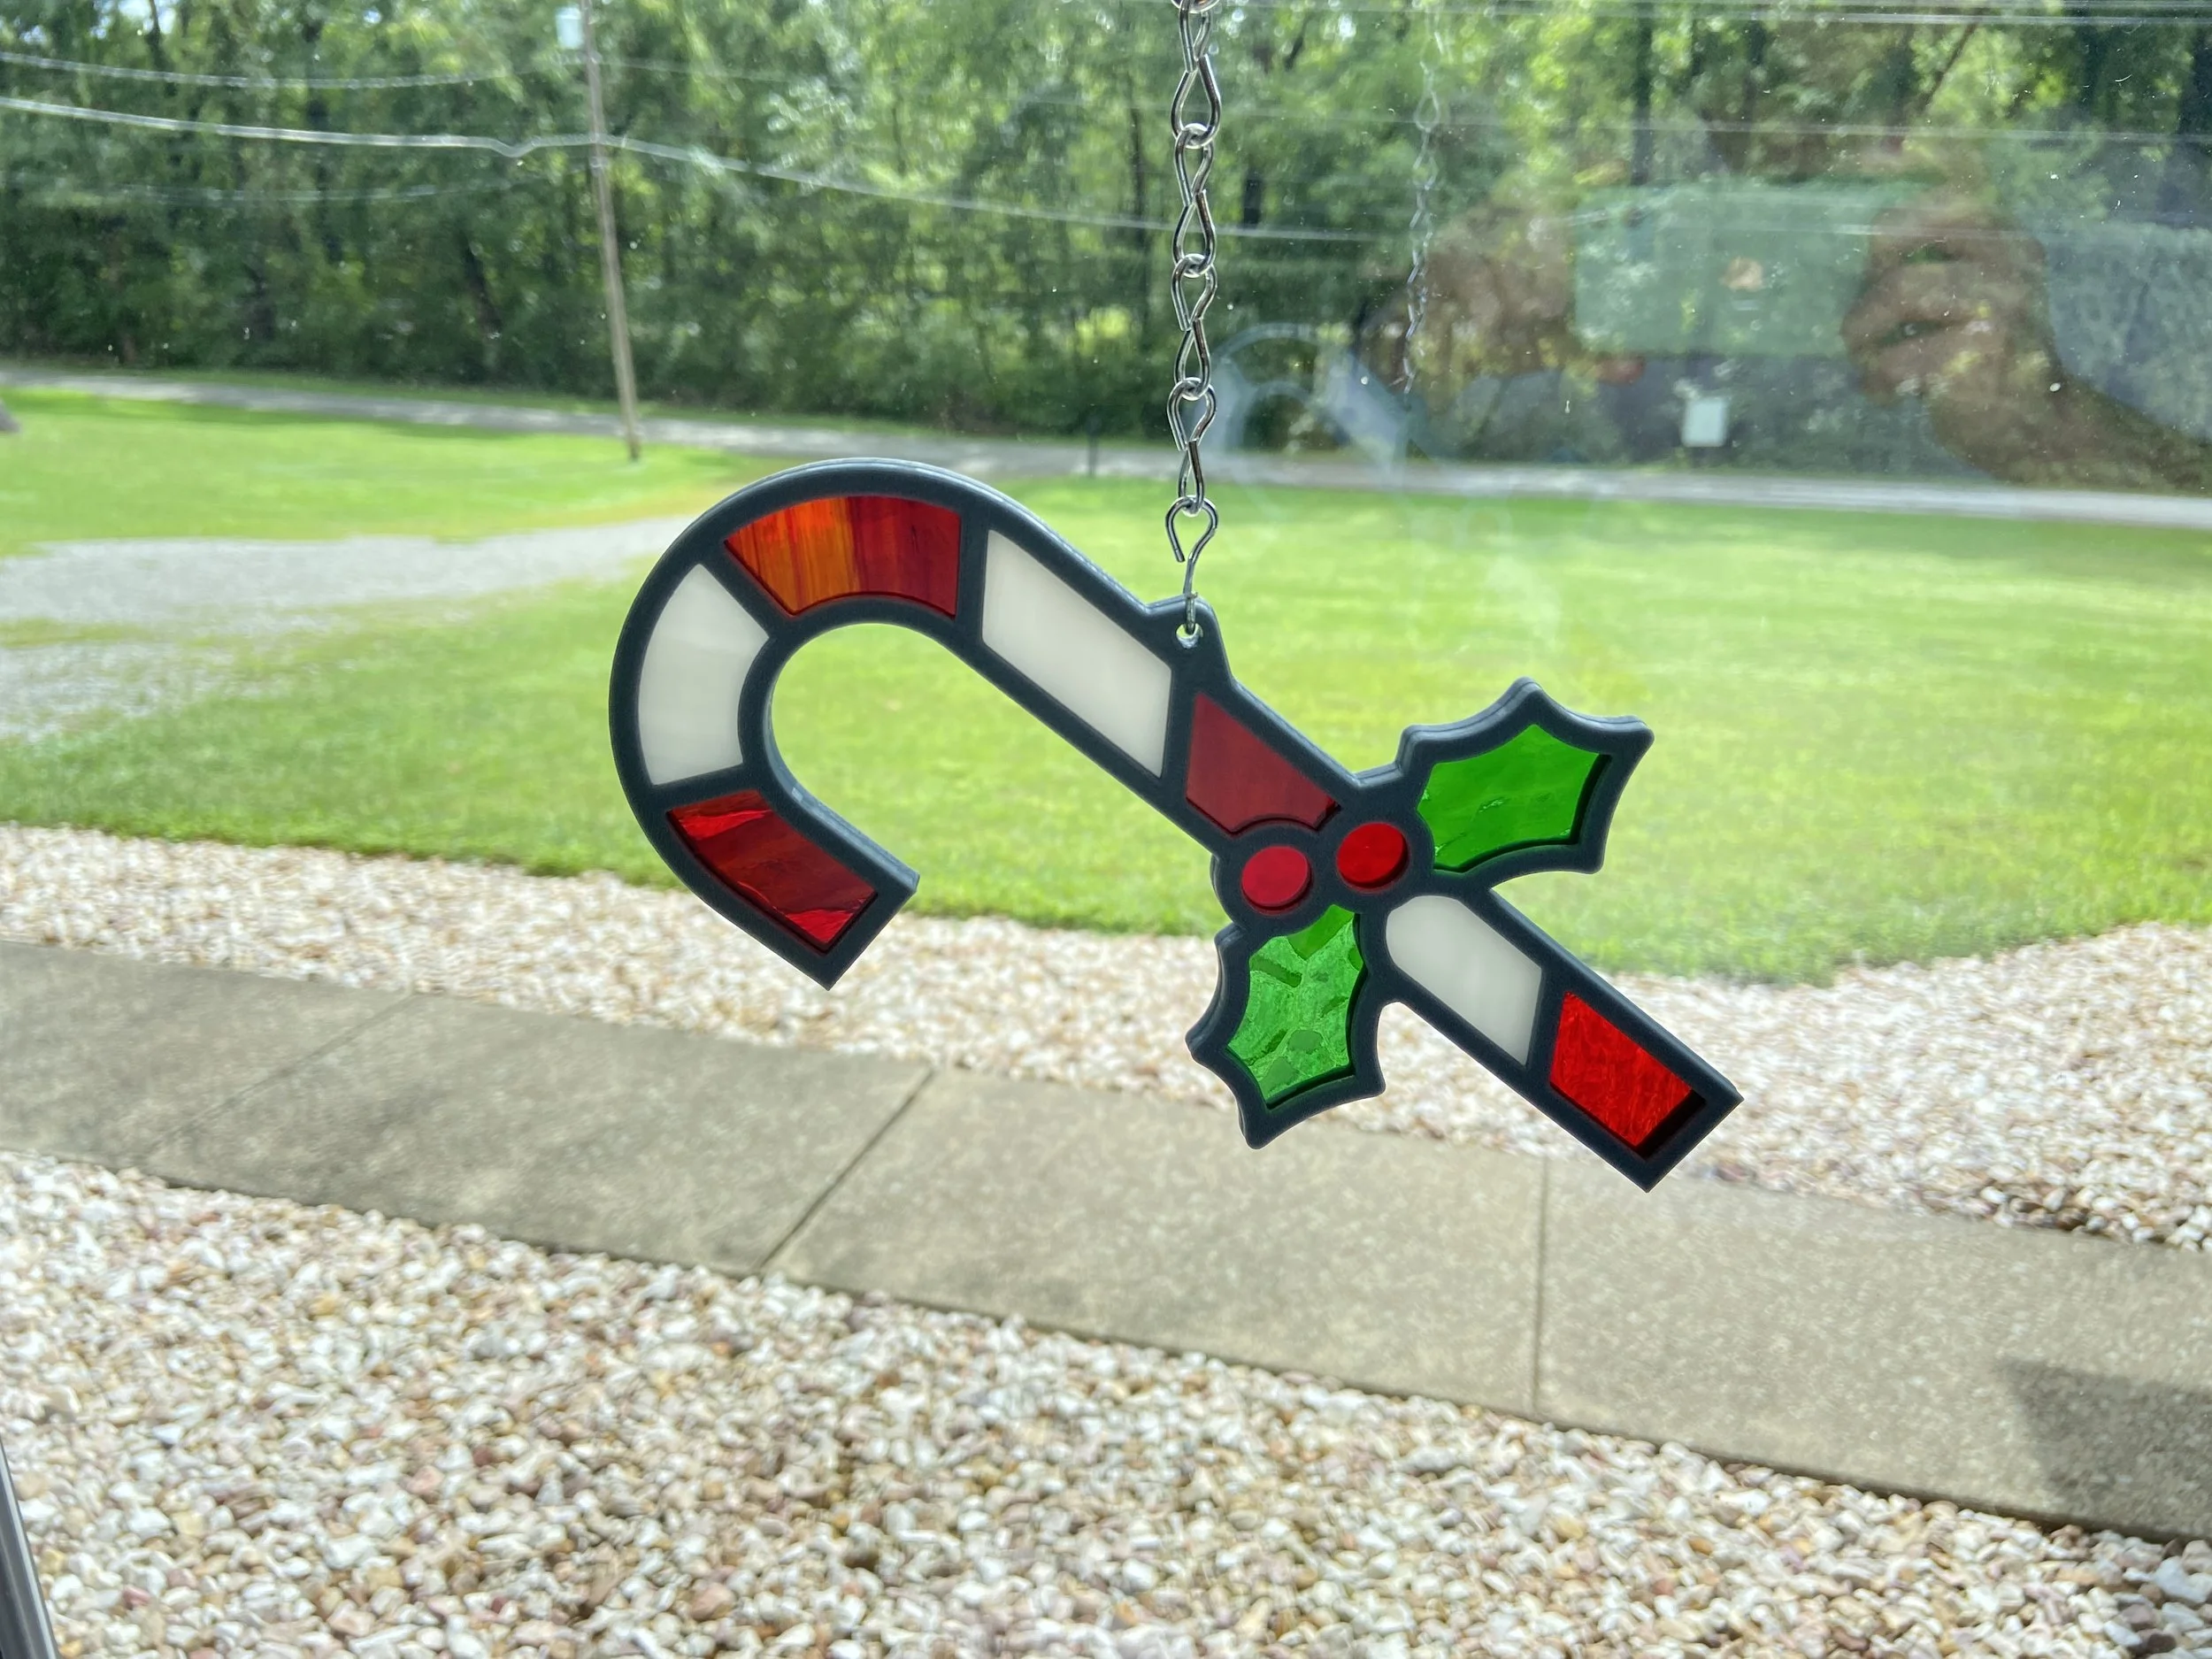
It all started with an idea for 3D printed candle surrounds made of PETG 3D printing filament that would depict a monogrammed initial or number (for wedding tables or something) with a really nice rectangular stained glass insert behind the negative monogrammed space. Well, it was functional, but not a particularly exciting piece. It was a dud sales-wise. It needed more pizzazz and I didn’t have the means or the ideas left to make it work at the time. It had then dawned on me that I could try encasing stained glass within a 3D printed frame in the same way that lead came or the copper foil method could encase stained glass. So, I tried it with a simple quatrefoil pattern with 4 pieces. It worked quite well. I tested ways in which each piece could sandwich the glass and methods for clasping the pieces together internally for a clean look. Hooks and hanging loops were also integrated. I ended up moving on to more intricate designs such as 3D printed version of a jack-o-lantern I had previously made with the copper foil method. I moved on to a candy cane sun catcher, a rooster panel, and a cat panel. All were once a variation of something I’ve made in the traditional stained glass fashion. Please check out the images associated with this post. Some of them are used today as listing images for my stained glass patterns in my Etsy shop: www.etsy.com/
I was very happy with how it turned out: just glass and just plastic. No harsh chemicals or toxic metals such as lead were used in the process. The design is more environmentally friendly, easier and quicker to make, and one other added bonus was the fact that you can pry open the sandwiched frames and take out the glass pieces for cleaning or replacing. Didn’t like the colors you’ve initially picked? Just cut some different pieces and pop ‘em back in! It was great, but there were also drawbacks. I had made this using PETG filament which is fine for hanging in the window with its heat and UV resistance, but everything had to be made exactly to fit. For instance, if your pieces were a little too small, they would rattle within the frame. So, I ended up printing the bottom portion of the frame in PLA which has less pliability than PETG in order to use it as a gauge for checking my cut/ground pieces. This ensured a perfect fit. Using PETG as a gauge for cutting was difficult because I was able to fit larger pieces of glass within each slot because the PETG would yield a little bit, allowing for the oversized pieces to kid you into thinking you were finished grinding. Everything would fit when checking each piece to the gauge one by one, but once they were all together, everything wouldn’t fit. So, PLA served as the best gauging material to avoid such an issue. The other problem was that glass is fairly heavy and the plastic is light. As a sun catcher or panel increased in size, I had to beef up the framing thicknesses as I went. Otherwise, bowing would occur within the center of the frame. I would also have to add internal clasps within the middle portions of the larger panels. Like 6” x 6” lol! I hid those clasps within the eyes of the cat and rooster design, but I’m not sure you would have the same luck with most designs. If I didn’t clasp the pieces in the middle, gaps would form between the sandwiched frames. There were also limitations based on how large of a printing area your printer can accommodate. You couldn’t make a large panel with this method unless you found a way to create modular pieces to fit within a larger, wooden frame perhaps.
I sold a few of these sun catchers and panels. It didn’t catch on. It was too late and my patience was running out before heading back into the office again. Today, I’m back at home attempting to make this maker thing work. I continue to attempt to create something new, unique and I never shy away from challenging current conventions. Why do we still make sun catchers the same way they’ve been made for over a hundred years ago? My own personal struggles with worrying about fumes, whether rinsing off all of this flux when finished with a panel will cause some harm to my pipes or septic system, and with attempting to produce output in a timely manner has led to an interesting innovation albeit with certain limitations. I have new takes on producing suncatchers in which I will address within a future article. I’m still working on these experiments as I write this. I also plan on revisiting this original sun catcher innovation with some other ideas, materials, and approaches that could encapsulate glass in a way that’s just as satisfying if not more than the traditionally-made suncatchers that are available on the market today. Please join me in future posts for more innovations, frustrations, and jubilations!
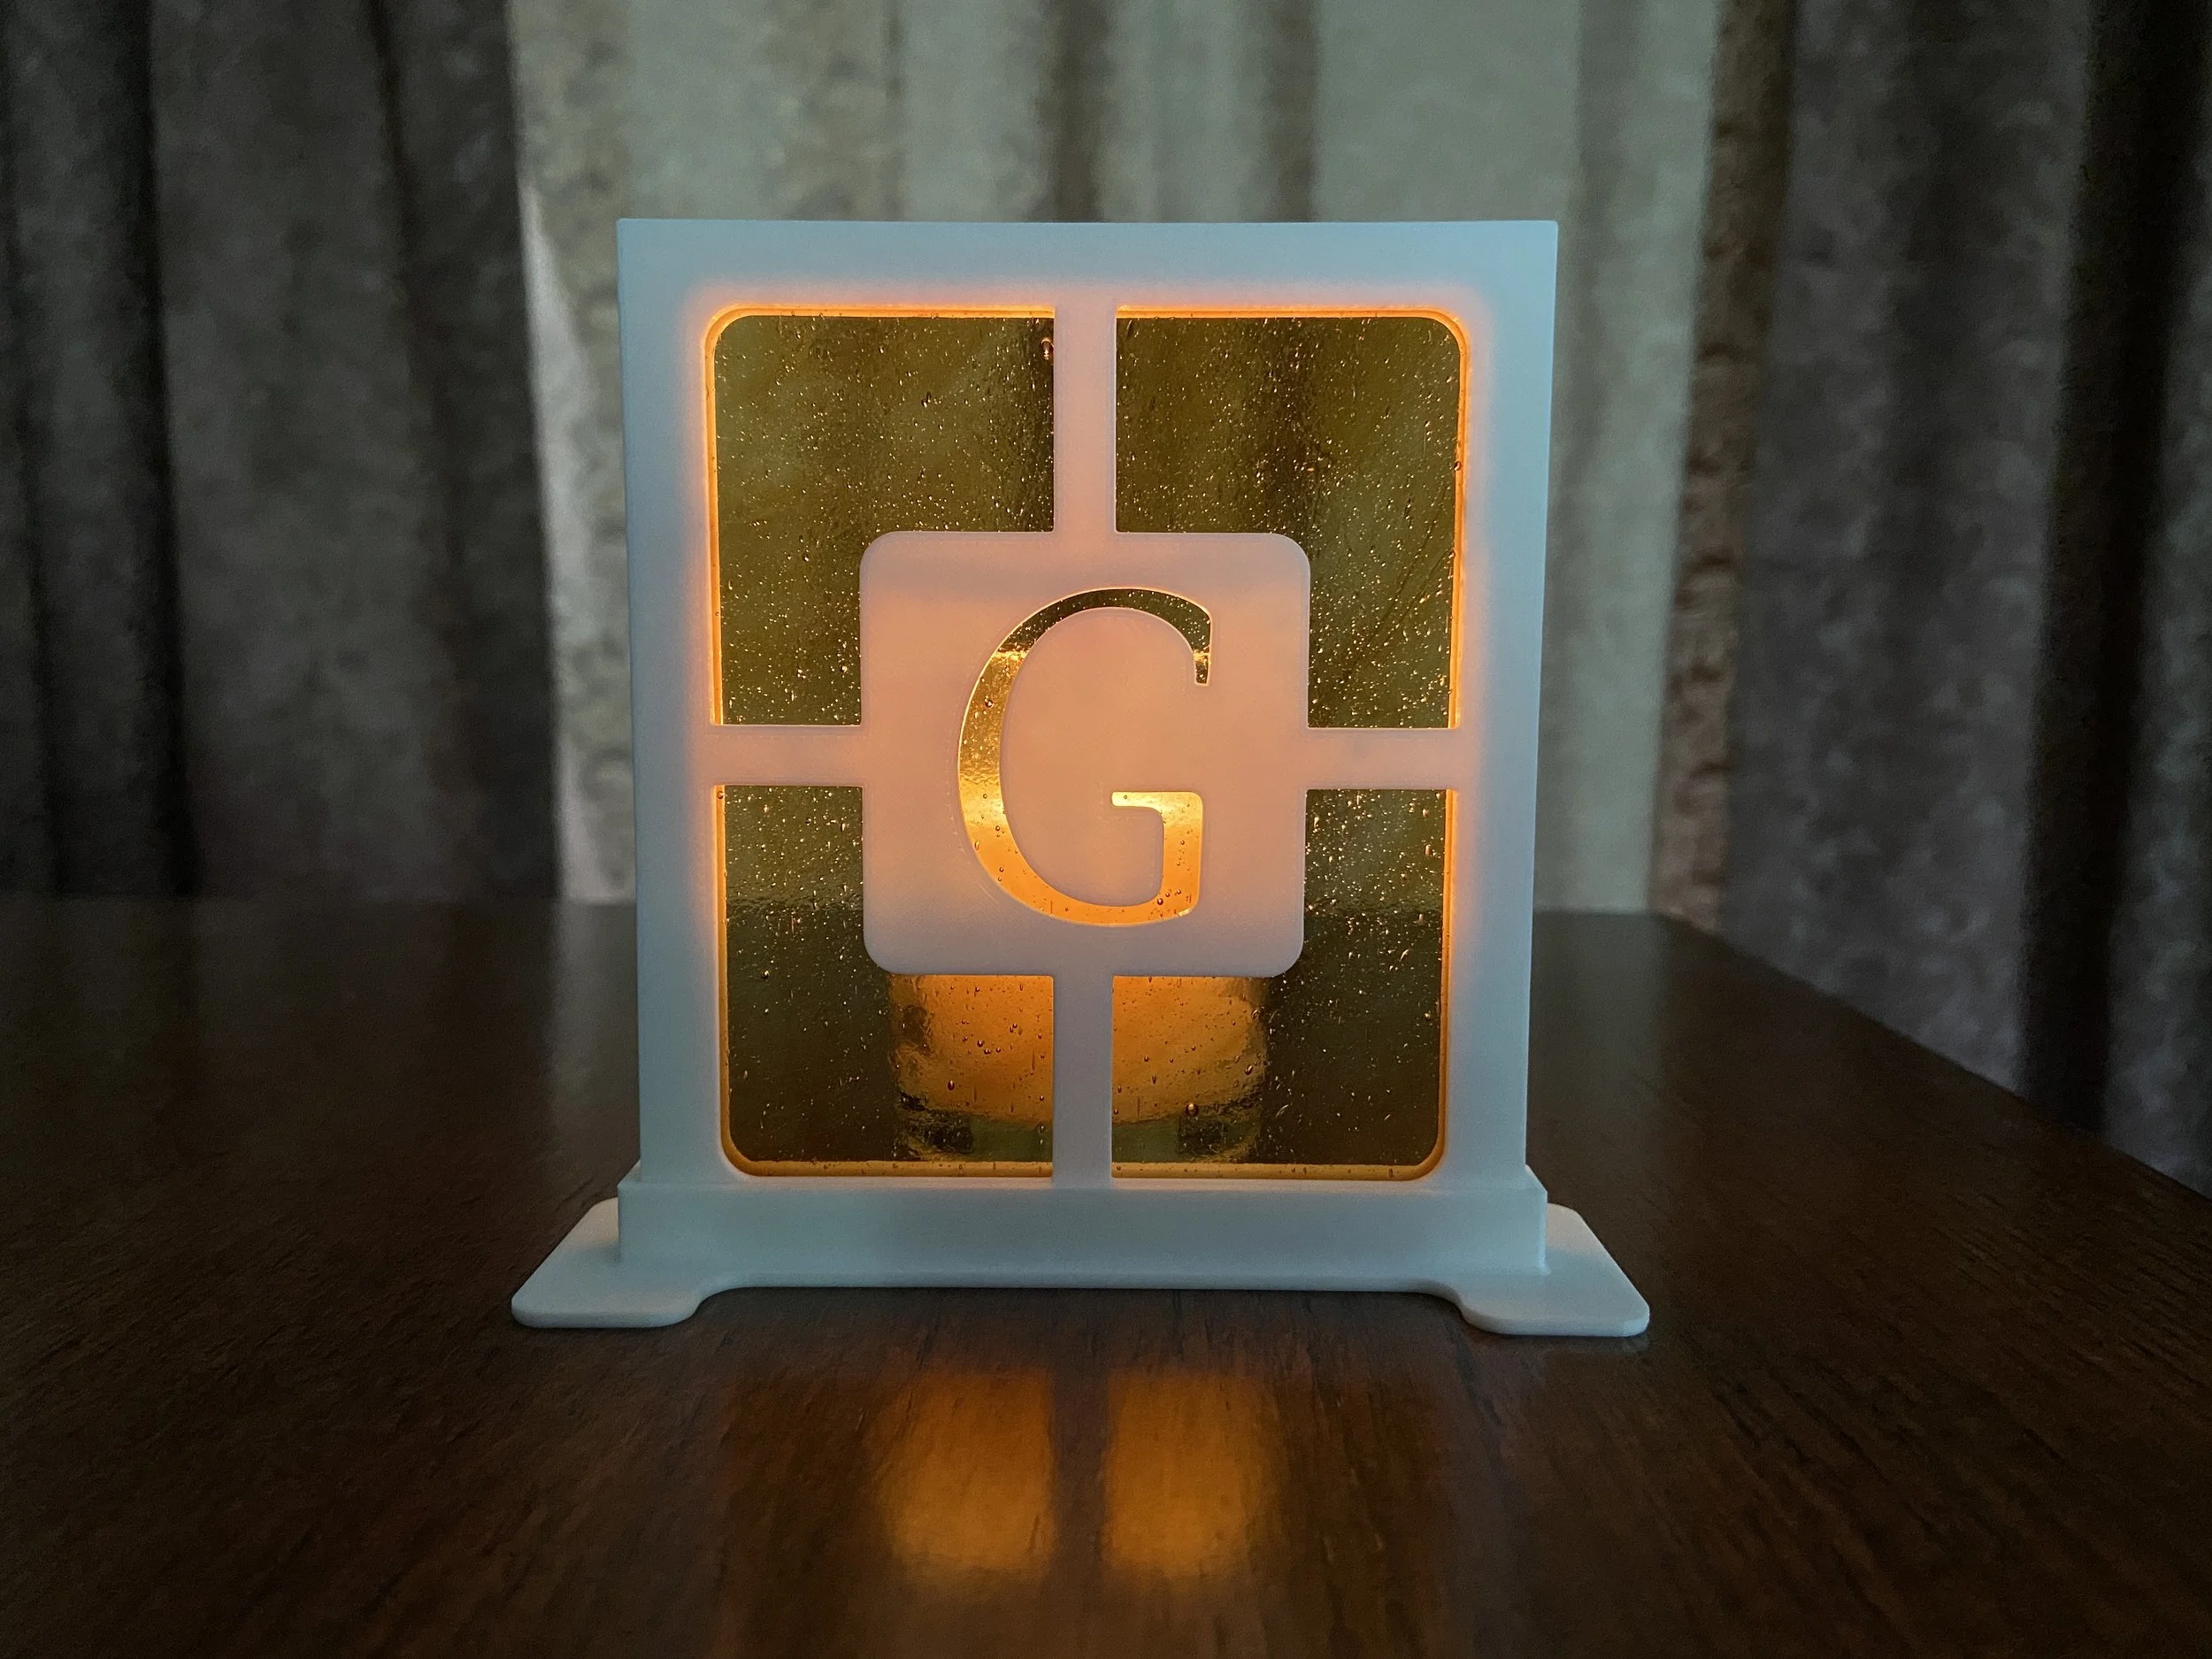

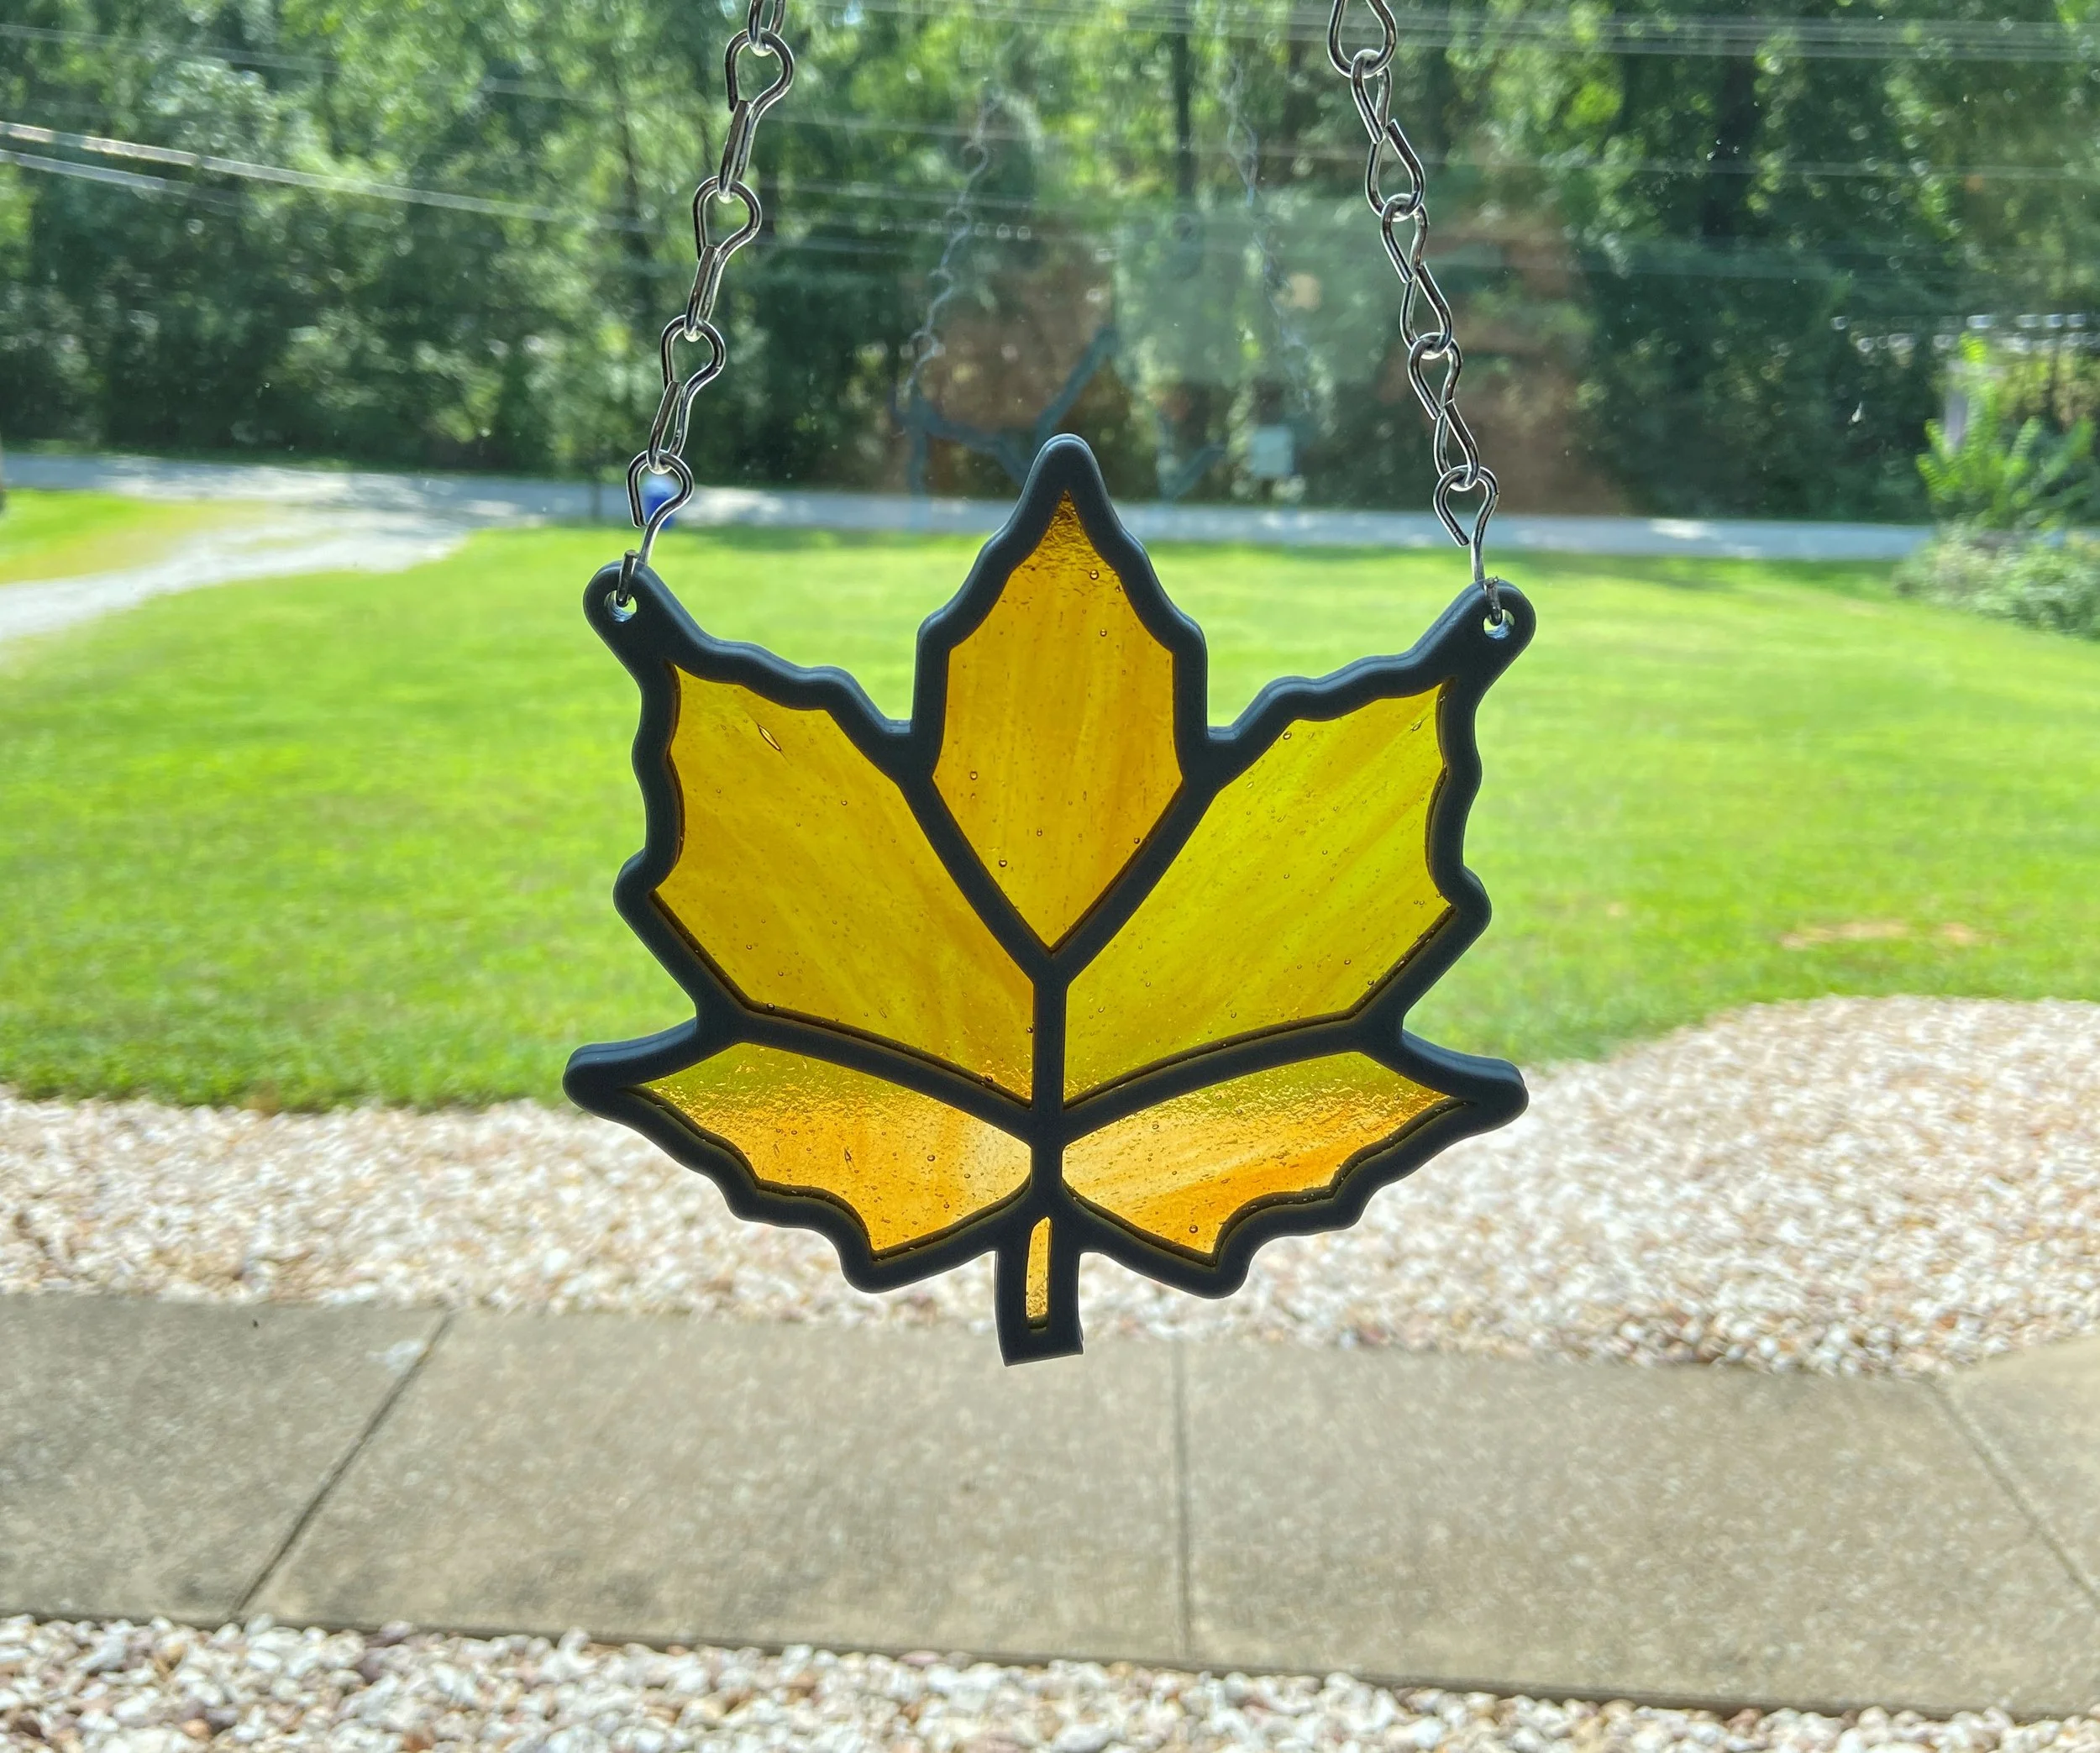
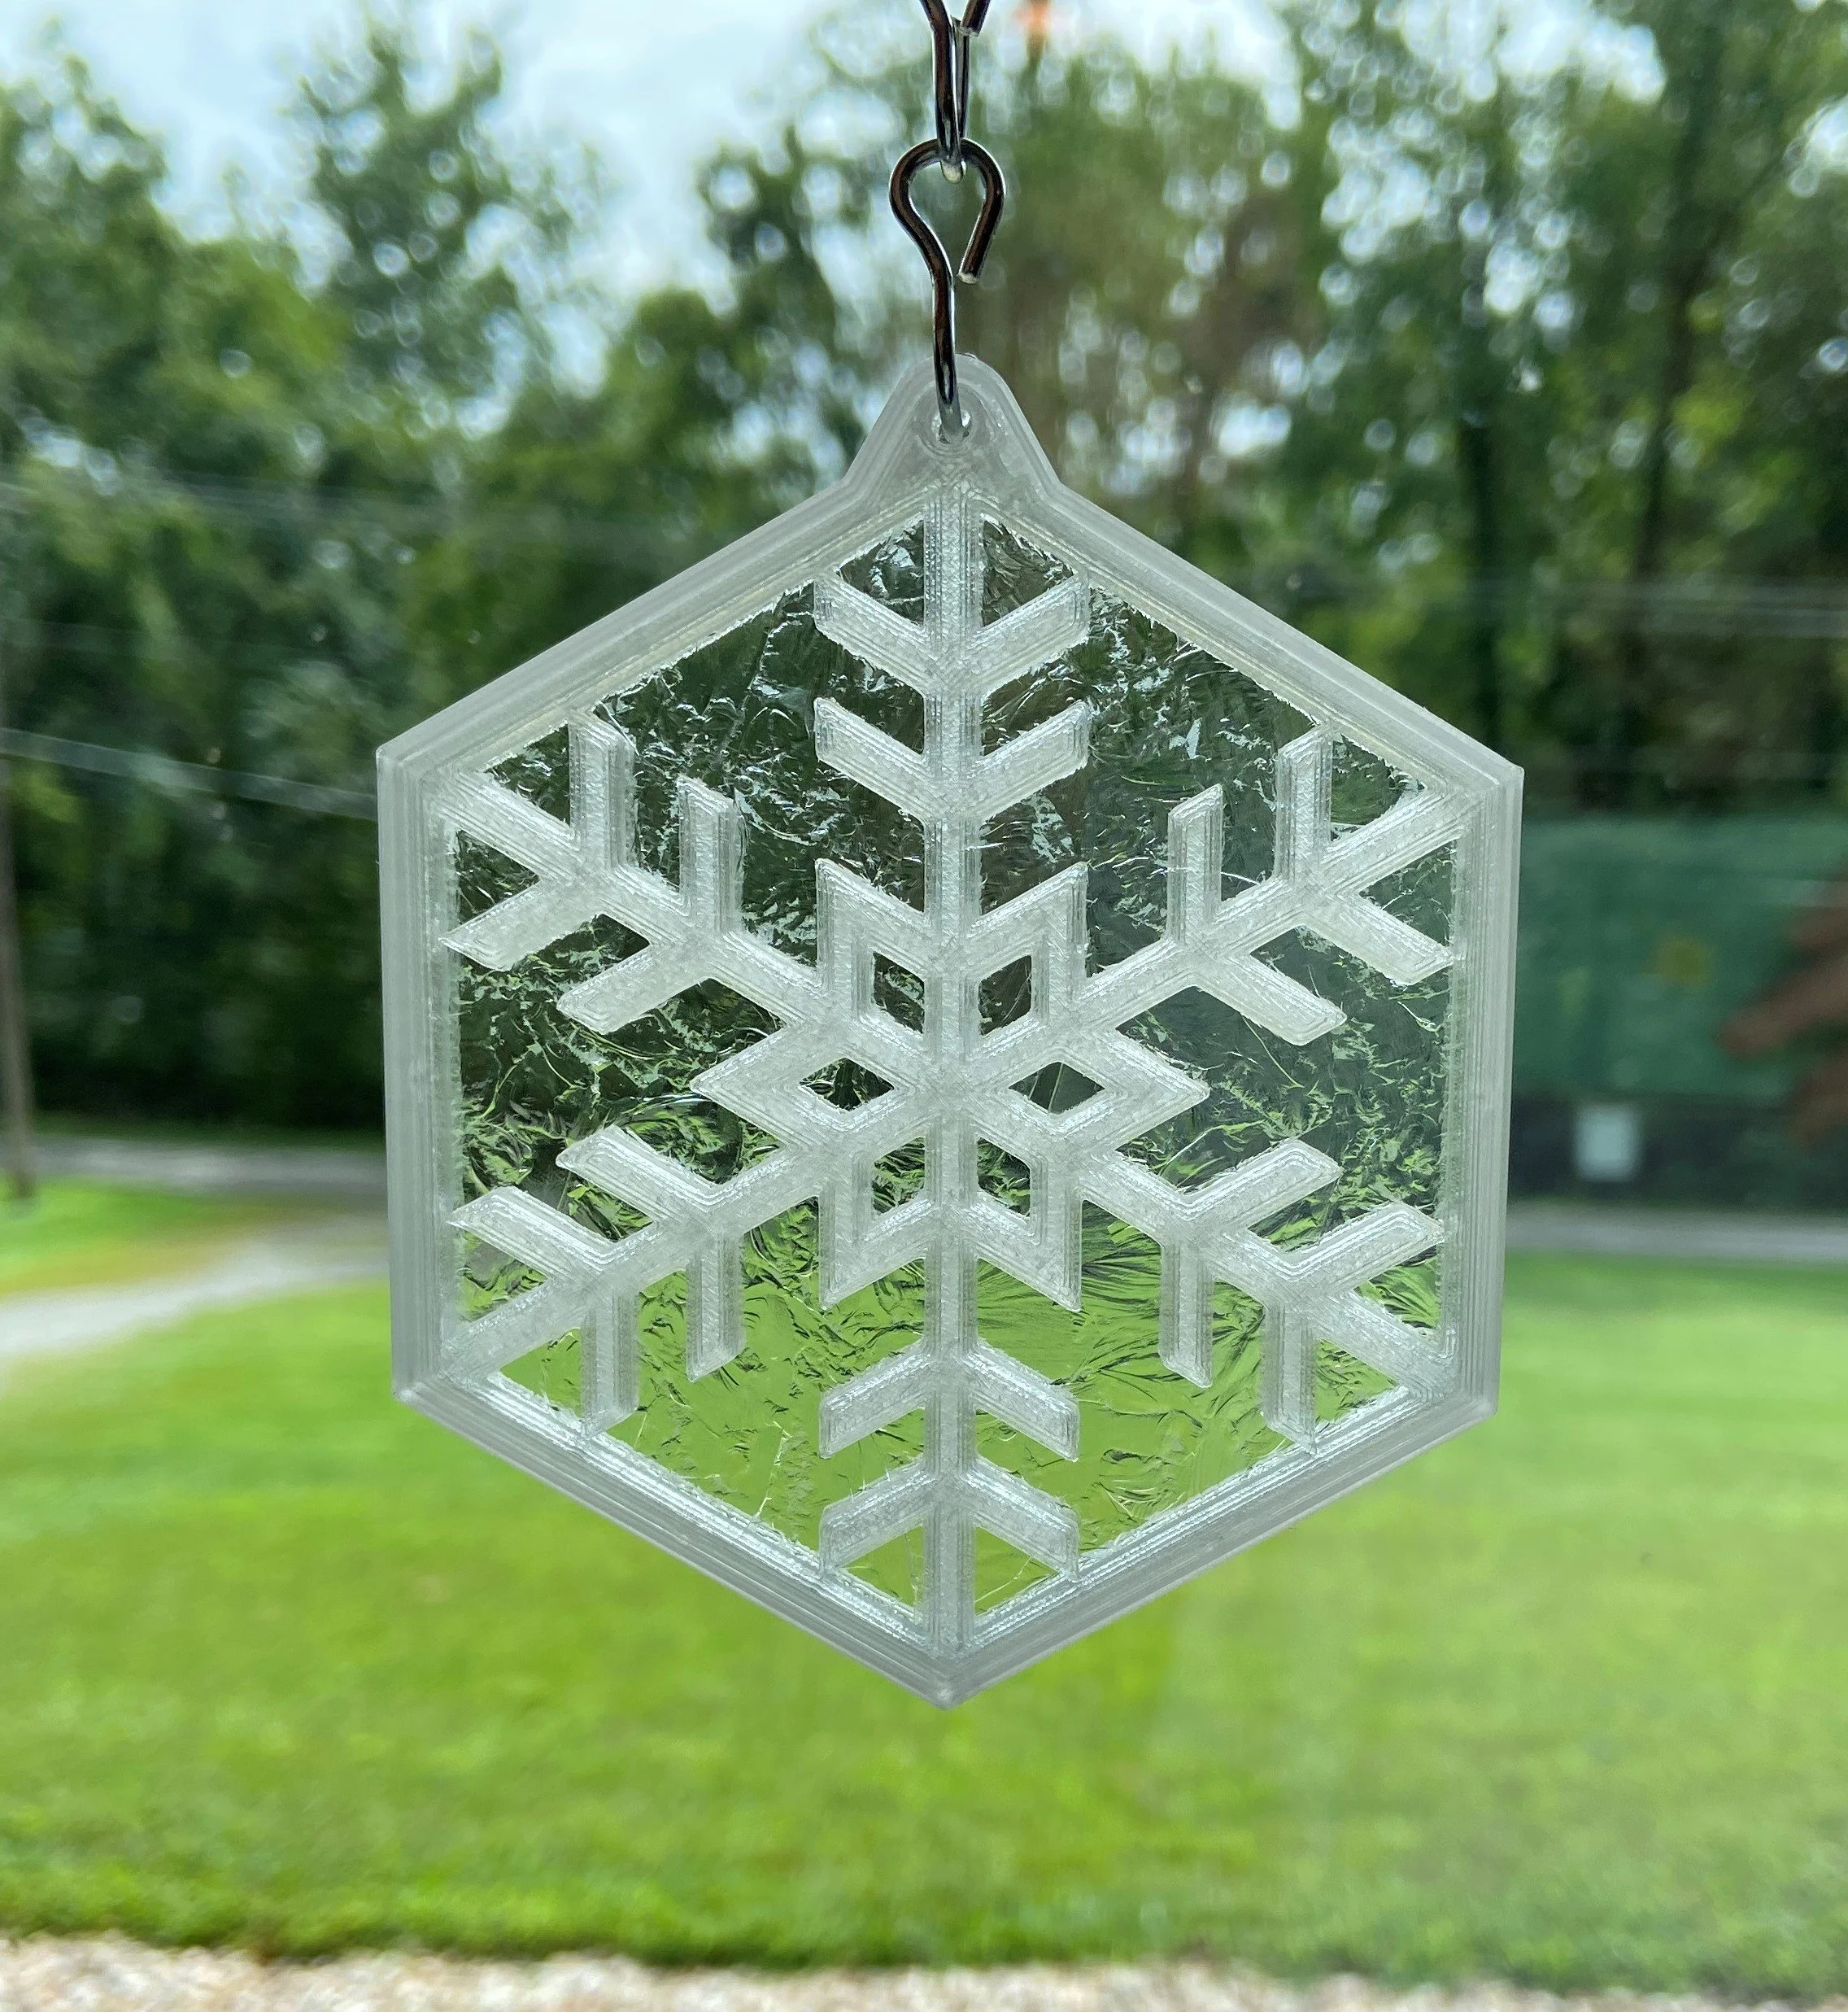
This is just about everything I’ve made with glass and a 3D printed frame starting with the very plain, monogrammed candle surround.
Subscribe on Substack to receive new updates.